Wednesday, April 30, 2014

Building 'blocks' using canned foods

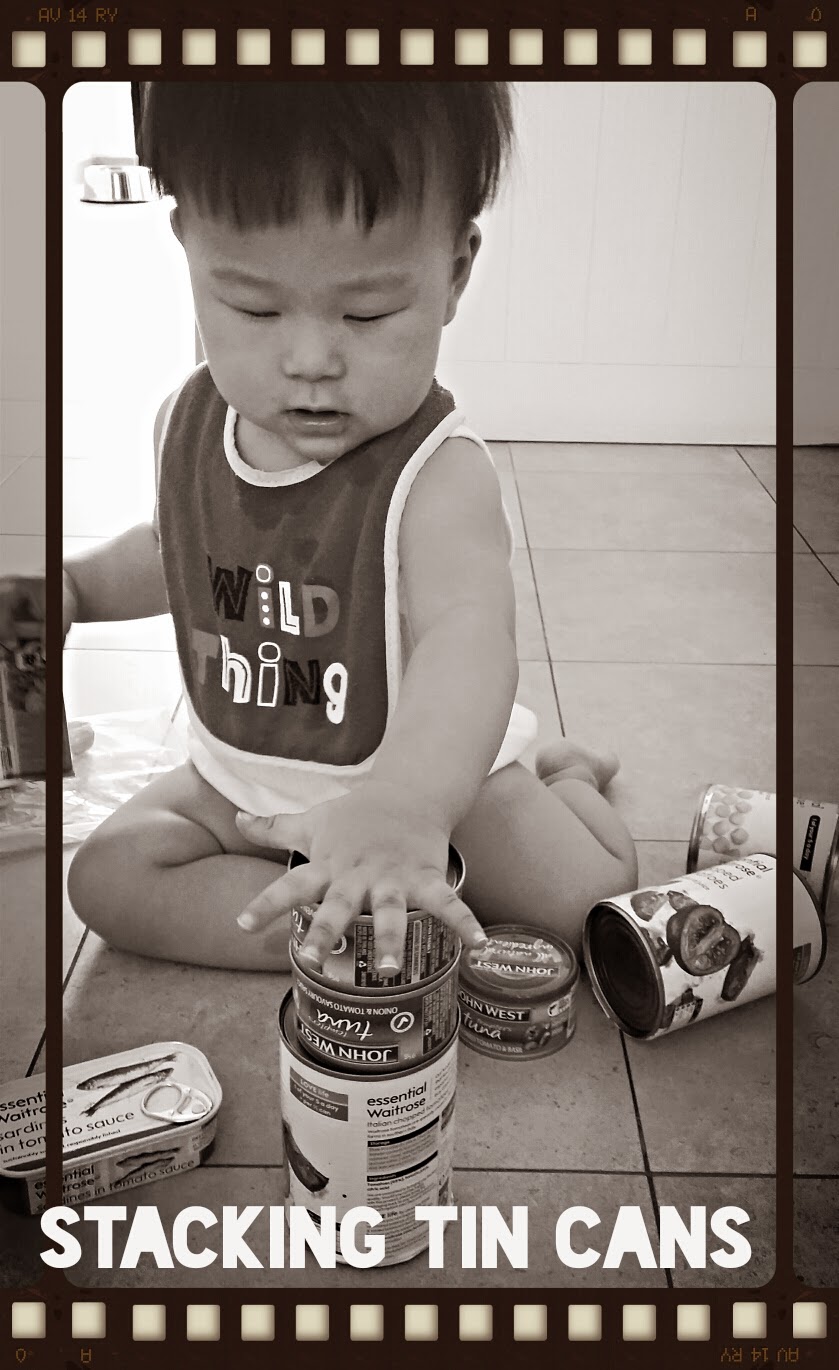
Building blocks with stuff from home. Our household has a few canned food such as baked beans,  tuna,  tomatoes, etc. Luke prefers playing with these canned food over the wooden blocks. Perhaps these cans are different in sizes, shapes and weight. He fiddles with them, rolls them around and sometimes drops them to hear the sounds it makes. Thought this is a quick way to keeps young ones entertained for a while and also introducing them to different attributes of the objects.  What items do you use for building blocks other than wooden ones?

Friday, April 25, 2014

Pink Friday! Play dough fun

Sophie loves play dough and she loves pink! What a better way to spend a Friday afternoon playing with this while Luke is napping. 

All supplies can be found at home. It's homemade play dough (not gluten free)

Recipe for play dough as follows:
1 cup all purpose flour
1 cup water
1/3 cup salt
2 tablespoons cream of tar tar
1 tablespoon of vegetable oil
Sprinkle of cinnamon powder (optional)
Food coloring (your choice)

Combine all ingredients (except food coloring) into a pot and turn on the stove. Stir the mixture until it clumps up and forms a sticky dough (about 3 minutes)

Remove the dough and let it cool a little. Divide into portions and add coloring of your choice.

We usually play the dough in a tray and add a few items (rolling pin, beads, goggle eyes, etc) for her imagination to have free play.

Do share with me ideas on setting up a play dough activity that will entice your child to play. Cheers and have a good weekend!

Thursday, April 24, 2014

Alberto Giacometti inspired sculpture

This was a fun project for me instead of Sophie. Perhaps an older child will enjoy it better as it requires patience and certain dexterity.

Supplies:
Pipe cleaners
strips of aluminium foil
A ball of paper (for the stick man head)
Play dough or blue tac

Steps:
Take 1 pipe cleaner and make a loop in the center for the head. This piece will make the head and the arms

Take 2 pieces of pipe cleaners for the legs. Use the arms to secure them tightly. Twist the 2 pipe cleaners a few times to make the body.

Put a ball of paper in the loop and start using the strips of aluminium foil to wrap it.

To make it stand, attach balls of play dough and wrap the foil around. It is quite challenging making it stand after a few tries, it will find its equilibrium.

Watercolor spray artwork

I love watercolor. Liquid watercolor especially! There are lots of art activities that can be done with it and today, we did a simple one. Dilute the liquid watercolors in spray bottles, set up paper and start squirting away.

Supplies:
Spray bottles (clear ones are preferred)
Liquid watercolors (your choice)
Butcher paper
Scissors
Tape or peg

We had a splendid time spraying away and what's best is we are going to use these as wrapping paper afterwards. 

Wednesday, April 9, 2014

DIY story telling board

Sophie has a wild imagination and we love making up stories. I decided to make a story telling board with some stickers, magnet sheets and a white board. I stuck the stickers to the magnet sheet and cut them to size. Voilà!

We could also draw on the board and have the little magnets placed on it to tell a story.

I may try one with a tea party or dress up doll version.

I think it makes a great start for story telling and also quiet time activity for toddlers. 

Happy to hear your views. 

Sunday, April 6, 2014

What's your family motto?

I've been meaning to do this....a family motto or values that are important to us. Here's a sample of what I've done up so far. Working on finalising it and will bring it to the printers to blow it up and perhaps frame it for the family dining area. Do you have one for your family? I would love to hear about it.

Emotional state of mind

And this is just the tip of the iceberg.

Wednesday, April 2, 2014

The Giving Tree (Story, Art, Learning)


By Shel Silverstein


I love this book. We have been reading this book fairly often over the past one year. It’s a simple and heartwarming story about a tree’s unconditional love for a boy when he was little till he turned old.


This week, I decided to use this book as a starting point for art and some learning time for Sophie. I drew up a tree on a large piece of paper and labelled it with the different parts of the tree. Placed a palette with green and yellow paint and a couple of brushes. When Sophie was up from her nap and saw it, she went straight to it and started painting away.

We talked about the different parts of the tree such as the roots, trunk, branches, leaves, flowers, fruits and animals that live in trees. We also looked at the papaya tree that we had planted together. I have one that we planted months ago and another a couple of weeks ago. We planted these trees from seeds. In this way, Sophie was able to see the stages of a plant. Papaya seeds are really easy to grow in Asia. I repurposed an old milk carton to germinate the seeds. We watered it everyday and within 2-3 weeks, we saw the sprouts peeking out of the soil. It was a beautiful sight. In another month or two, when the plant is slight bigger, we will plant it into the garden. And with the repurposed milk carton, all we need is to cut up the carton and put the soil and plant into the ground. In this way, we avoid hurting the roots of the plant.

In the next week, I plan to dig deeper into this subject. We will make a trip to the botanic gardens to do tree bark rubbings, leaf printing, create a little catalog of the trees that we have seen.